

The Ultimate Guide to Aluminium Tile Trim: Function, Style, and Installation for a Flawless Finish
When planning a tiling project, much of the focus goes to selecting the perfect tiles. However, the secret to a truly professional and long-lasting finish often lies in the details—specifically, the tile trim. Among the various materials available, aluminium tile trim stands out as a superior choice for both DIY enthusiasts and professional tilers. It's the finishing touch that not only protects your investment but also elevates the entire aesthetic of your space.
This guide will walk you through everything you need to know about aluminium tile trim, from its fundamental purpose to installation secrets that ensure a flawless result.
What is Aluminium Tile Trim and Why Do You Need It?
Aluminium tile trim is a profile strip designed to protect the exposed edges of tiles from damage like chipping and cracking. Tiled edges, especially on external corners, are vulnerable points in any installation. Without protection, they can easily get damaged from impacts, leading to costly repairs and a compromised appearance. Aluminium trim provides a durable barrier, absorbing shocks and preventing wear and tear over time.
Beyond protection, it serves a crucial aesthetic function. It conceals the unglazed, often rough, edge of the tile, creating clean lines and a high-end, polished look that defines the space. Whether you're framing a backsplash, finishing a-half-tiled wall, or transitioning between different floor surfaces, aluminium trim delivers a neat, intentional design.
The Unmatched Benefits of Choosing Aluminium
While other materials like PVC and stainless steel exist, aluminium offers a unique combination of advantages that make it a popular choice:
- Durability and Corrosion Resistance: Aluminium is naturally resistant to rust and corrosion, making it ideal for high-moisture environments like bathrooms, kitchens, and even outdoor applications. It won't degrade when exposed to water or common cleaning chemicals.
- Lightweight and Strong: Despite being incredibly strong and able to withstand significant abrasion, aluminium is very lightweight, making it easy to handle and cut during installation.
- Aesthetic Versatility: It comes in a vast array of finishes—including polished, brushed, matte, and anodized colors—allowing it to seamlessly match any design style, from ultra-modern to classic.
- Cost-Effective: Aluminium provides a premium, high-end look without the high price tag of materials like stainless steel or brass, offering excellent value for its longevity and performance.
- Low Maintenance: Once installed, aluminium trim requires minimal upkeep. It's easy to clean and maintains its appearance for years wtihout needing special treatments.
Exploring the Different Types of Aluminium Tile Trim Profiles
The profile you choose depends on the specific application. Each shape is designed to solve a different finishing challenge.
- L-Shape (Straight Edge): This is the most common profile, used for creating a clean, right-angled finish on external corners of walls or floors. Its simplicity makes it incredibly versatile.
- Square Edge (Box Profile): Similar to the L-shape but with a squared-off face, this profile offers a more defined, modern, and bold edge. It's perfect for contemporary designs and provides robust corner protection.
- Round Edge (Quadrant): Featuring a curved, convex face, this trim creates a softer, rounded corner. It's an excellent choice for safety in high-traffic areas, reducing the hazard of sharp edges.
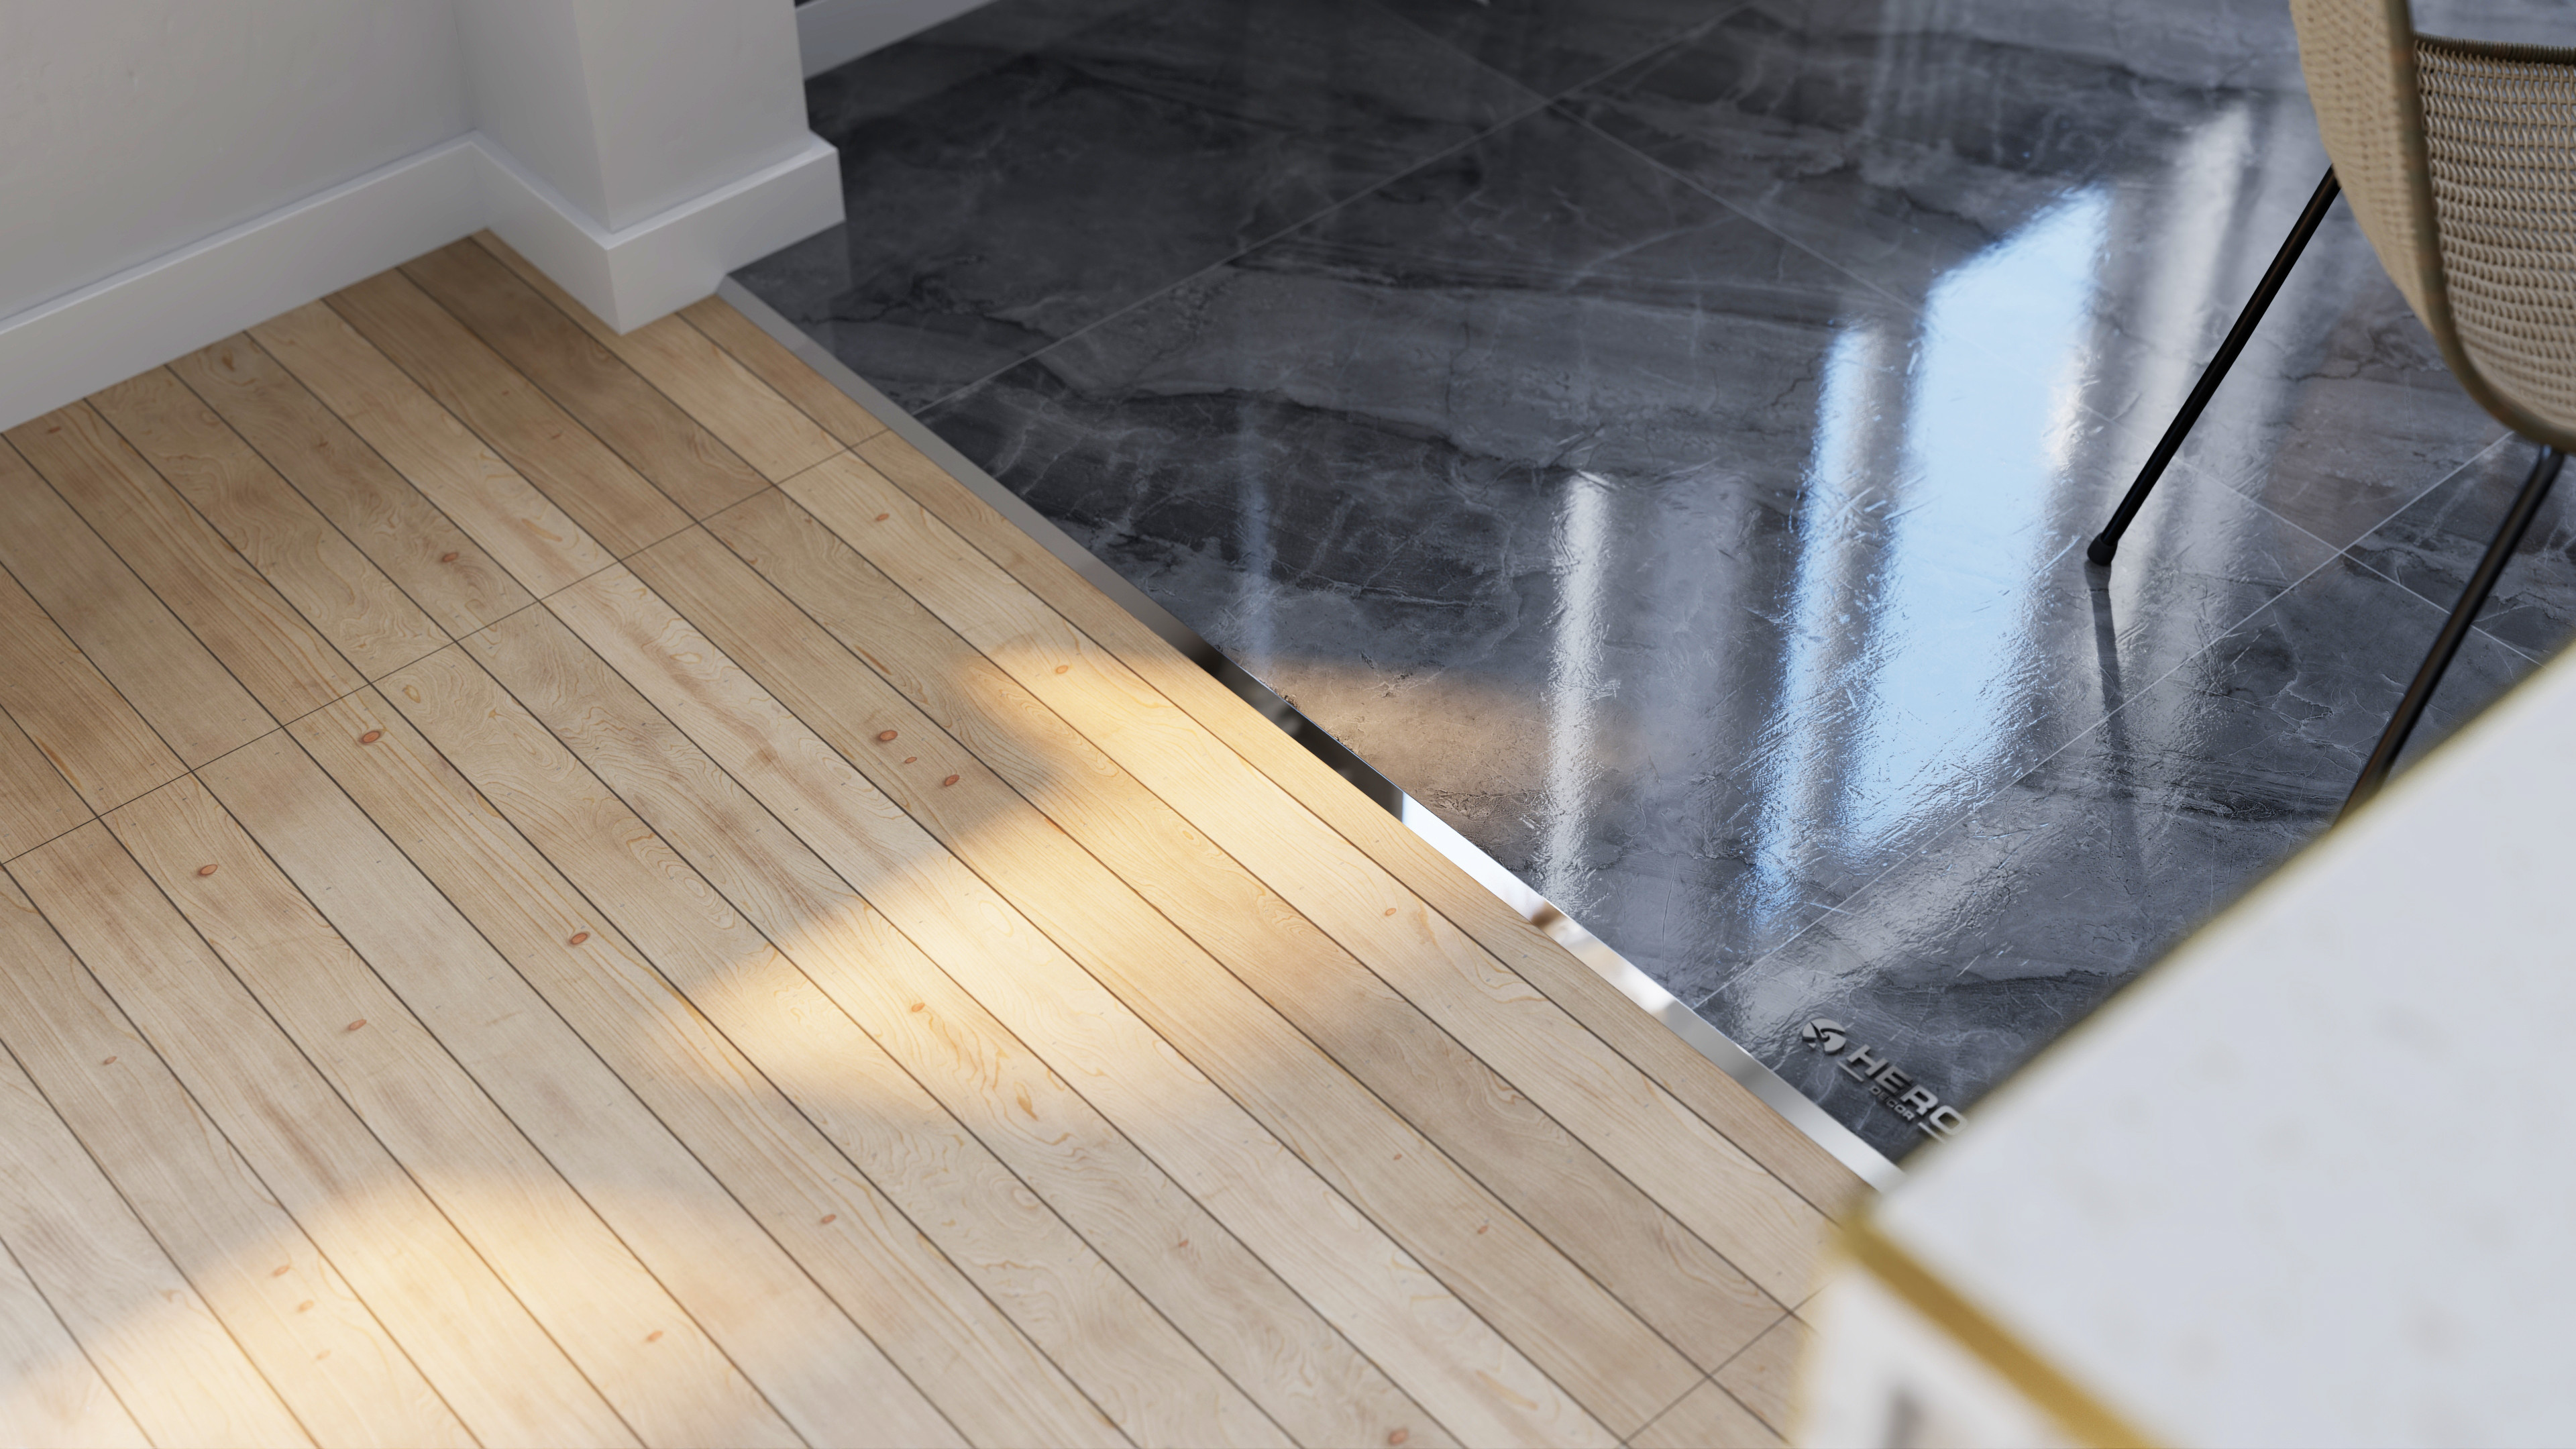
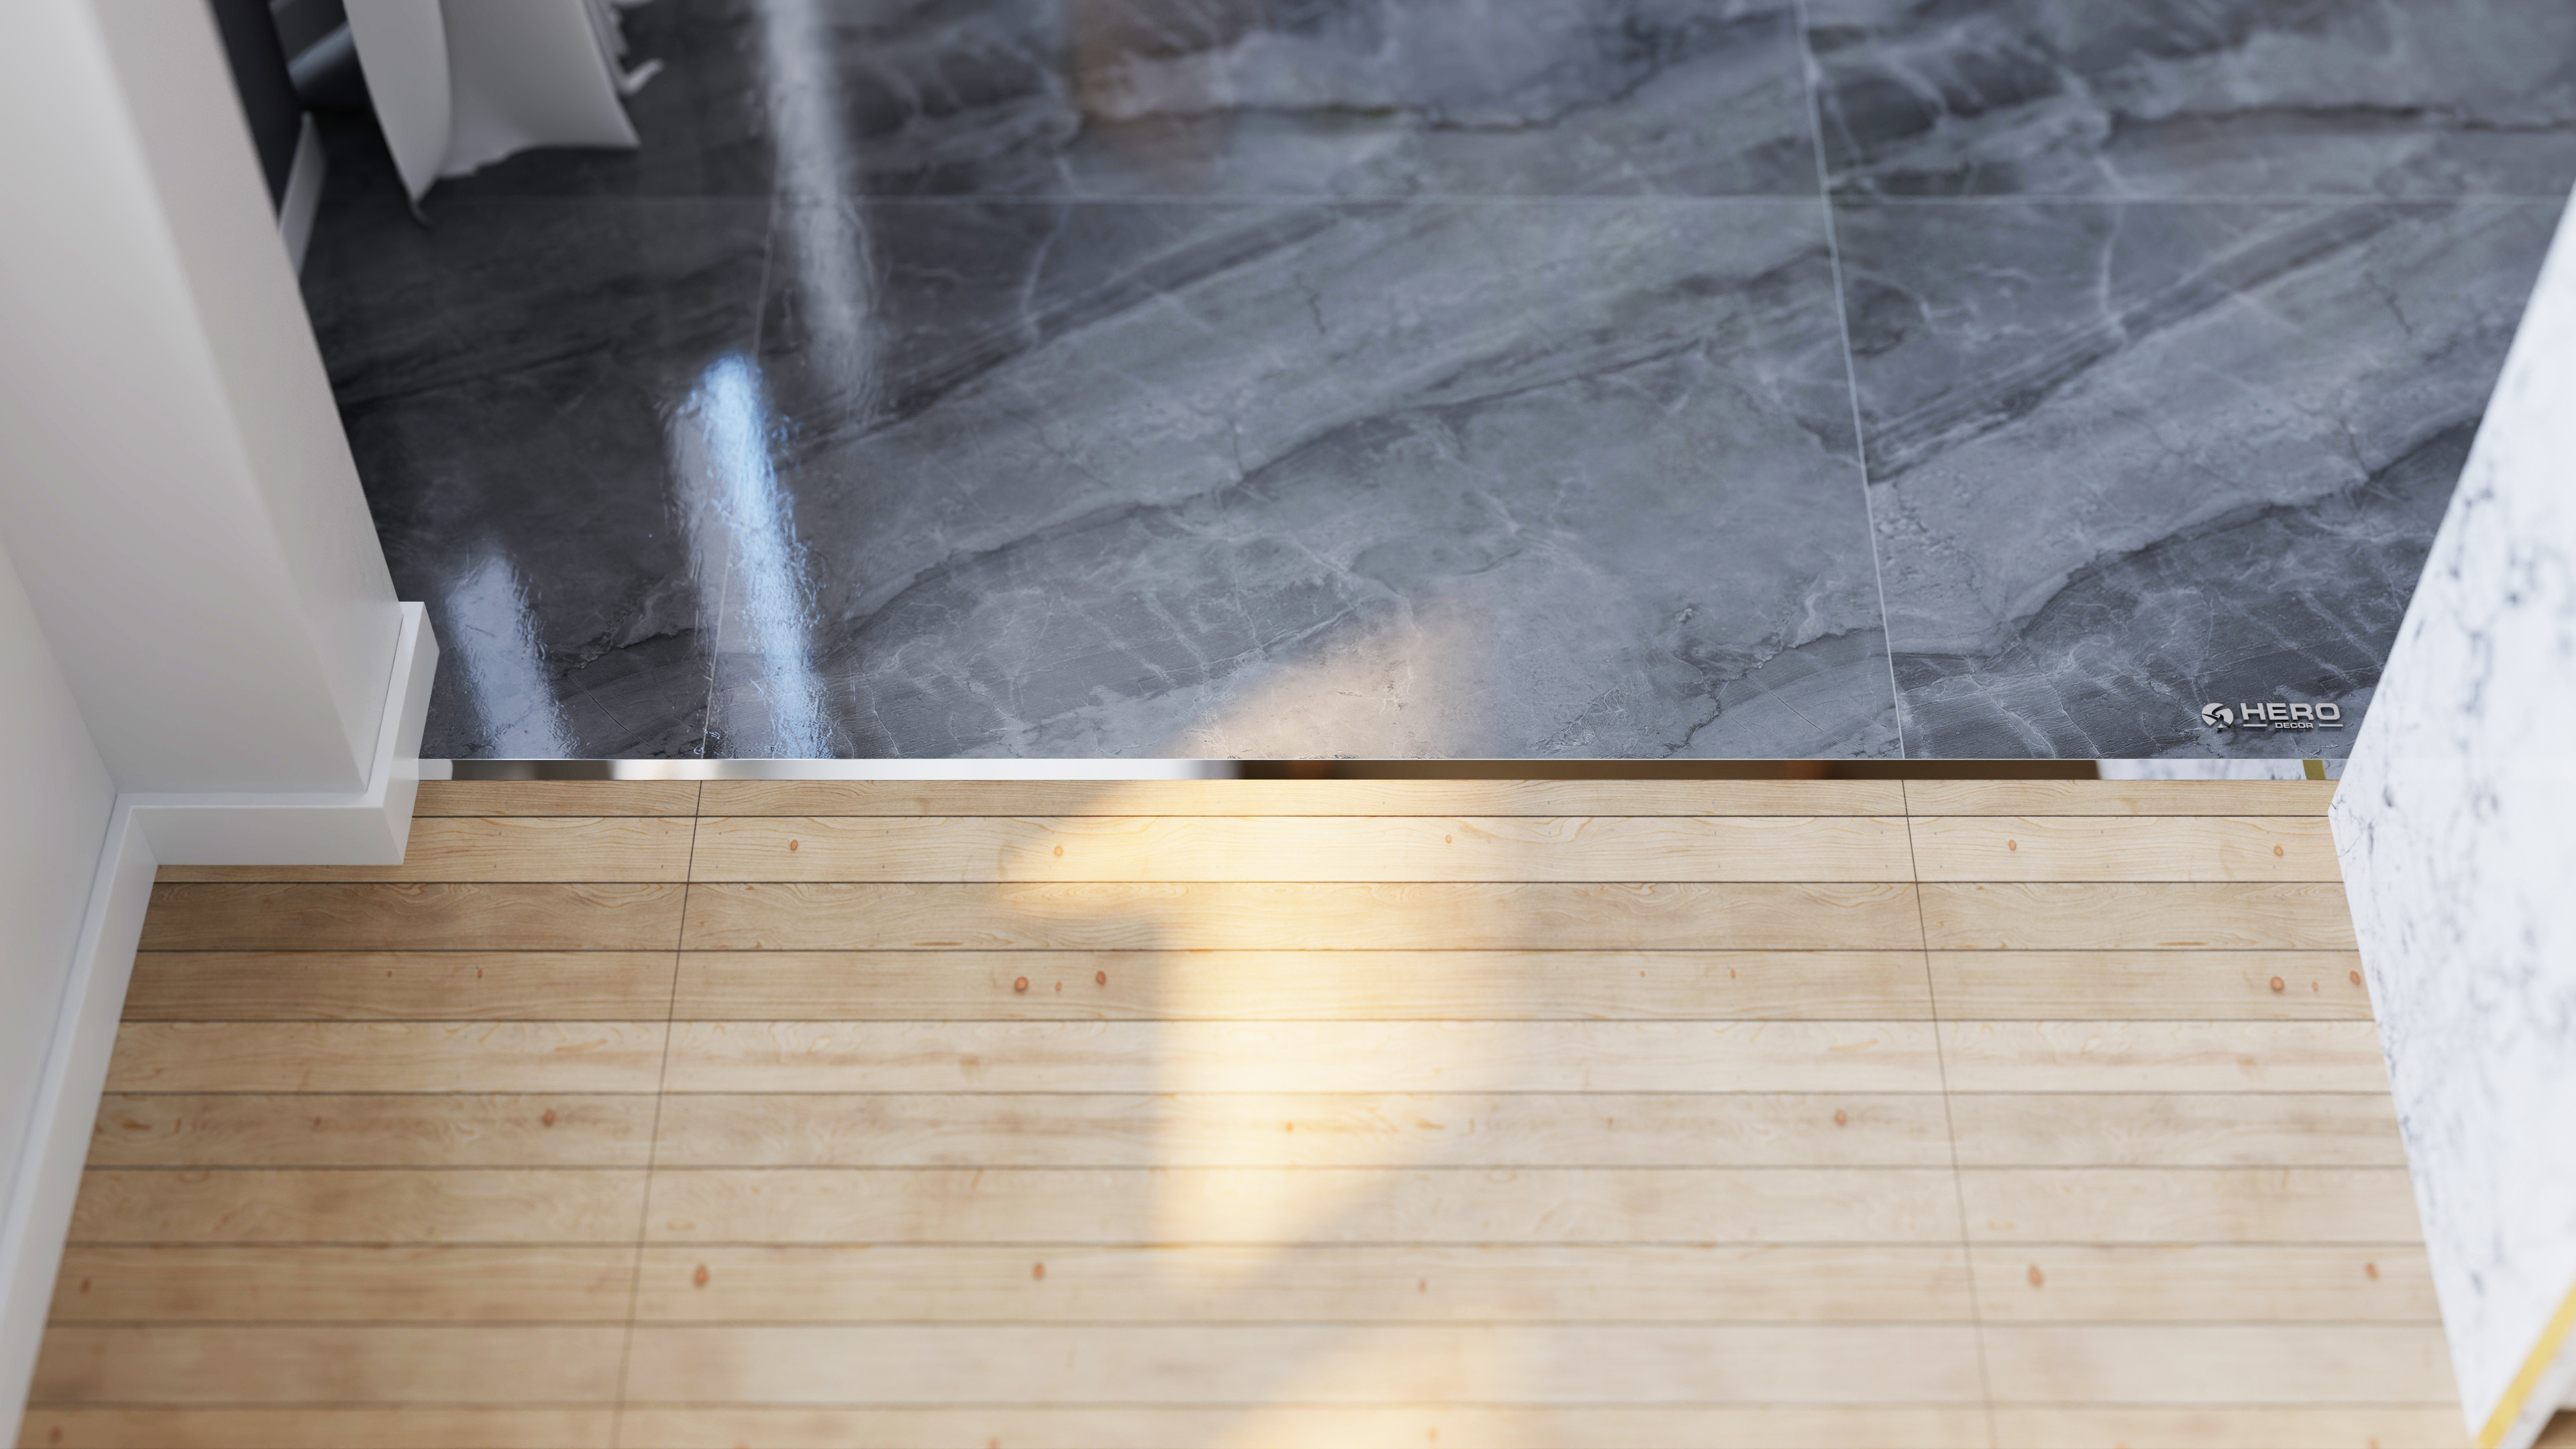
- Transition Trim: Designed to create a smooth and safe transition between a tiled floor and an adjacent flooring material of a different height, like carpet or wood. It prevents trip hazards and protects both flooring edges.
- Internal Corner Trim (Cove Shape): This profile creates a curved, easy-to-clean internal corner, preventing the buildup of dirt and grime that often occurs in sharp 90-degree angles, particularly useful in showers and kitchen countertops.
A Look at Popular Finishes: From Polished to Powder Coated
The finish of your trim can dramatically impact the final look. Aluminium is exceptionally versatile in this regard:
- Polished Silver: Offers a bright, chrome-like shine that works well in modern bathrooms with matching fixtures.
- Matte Silver/Anodized: Provides a subtle, sophisticated look that resists fingerprints and minor scratches. Anodizing also increases corrosion resistance.
- Brushed Finish: Features a textured appearance that helps hide minor imperfections and adds a touch of industrial chic.
- Powder Coated: Available in a nearly endless variety of colors (such as matte black, white, or bronze), powder coating provides a durable and consistent finish to match any tile or grout color.
How to Select the Right Size and Depth for Your Tiles
Choosing the correct trim size is critical for a successful installation. The rule is simple: the trim's depth should be slightly larger than the tile's thickness to account for the layer of tile adhesive.
- For Walls: Select a trim that is 1mm to 1.5mm deeper than your tile. For example, if you have an 8mm thick tile, a 9mm or 10mm trim is ideal.
- For Floors: Since floor applications typically use a thicker bed of adhesive, choose a trim that is 1.5mm to 2mm deeper than the tile.
Using a trim that is too small will leave the tile edge exposed, while one that is too large will create an uneven lip. Always measure your tile thickness before purchasing trim.
Aluminium vs. Other Materials: A Quick Comparison
To help you decide, here is a quick comparison of the most common tile trim materials:
| Feature | Aluminium | PVC | Stainless Steel |
|---|---|---|---|
| Durability | Excellent | Fair (can scratch/crack) | Superior |
| Appearance | Modern, versatile finishes | Basic, can look cheap | Sleek, industrial look |
| Cost | Budget-friendly to mid-range | Most affordable | Higher cost |
| Corrosion Resistance | Excellent (especially when anodized) | Good | Excellent |
| Installation | Easy to cut and install | Very easy to cut | More difficult to cut |
| Best For | Bathrooms, kitchens, high-traffic areas | Low-traffic areas, DIY projects on a budget | Commercial spaces, wet rooms, luxury installs |
Essential Tools and Materials for Installation
Before you begin, gather the right tools to ensure a smooth process:
- Aluminium Tile Trim
- Tape Measure
- Marker or Pencil
- Hacksaw with a fine-toothed blade (for metal)
- Miter Box (for accurate 45-degree corner cuts)
- Metal File
- Notched Trowel
- Tile Adhesive/Mortar
- Level
- Spacers
- Damp Sponge and Cloth
Step-by-Step Guide: Installing Aluminium Tile Trim Like a Pro
Installing aluminium trim is integrated into the tiling process itself. Follow these steps for a professional finish:
- Measure and Cut: Measure the length needed for the edge. Using the miter box and hacksaw, cut the trim to size. For external corners, you'll need to make two 45-degree cuts that meet to form a perfect corner. After cutting, use the metal file to smooth any burrs from the cut edge.
- Apply Adhesive: Apply a layer of tile adhesive to the installation area using the notched trowel.
- Embed the Trim: Press the perforated anchoring leg of the aluminium trim firmly into the wet adhesive. Check that it is straight and level.
- Trowel Over the Leg: Apply more adhesive over the anchoring leg, ensuring it is fully covered.
- Set the Tiles: Firmly press your tiles into the adhesive, sliding them up to the edge of the trim. Use spacers between the tile and the trim to maintain a consistent grout line.
- Clean Up: Use a damp sponge to wipe away any excess adhesive from the face of the trim and the tiles before it dries.
Common Mistakes to Avoid During Installation
- Incorrect Sizing: As mentioned, choosing a trim that's too small or too large is the most common error. Always double-check your tile thickness.
- Rough Cuts: Not filing the cut edges can leave sharp, dangerous burrs and result in poorly fitting corners.
- Leaving Adhesive on the Surface: Dried adhesive is very difficult to remove without scratching the trim's finish. Clean as you go.
- Not Using a Miter Box: Freehanding corner cuts will almost never result in a clean, professional-looking corner.
Maintaining Your Aluminium Trim for Long-Lasting Beauty
Maintaining aluminium trim is incredibly simple. Clean it with a soft cloth and a non-abrasive, pH-neutral cleaner. Avoid harsh chemicals, bleach, or abrasive scouring pads, as these can damage the protective finish. For most day-to-day cleaning, a simple wipe-down with a damp cloth is all that's needed to keep it looking new.
Conclusion: Elevate Your Tiling Project with the Perfect Finish
Aluminium tile trim is far more than just an accessory; it's a fundamental component that provides essential protection, adds structural integrity, and delivers a premium aesthetic. By choosing the right profile, finish, and size—and by following proper installation techniques—you can ensure your tiling project not only looks stunningly professional but also stands the test of time.

